
Why you should start every imagination drawing in red
If you've ever drawn from imagination with a pen, you've probably heard that little voice: don't mess this up.
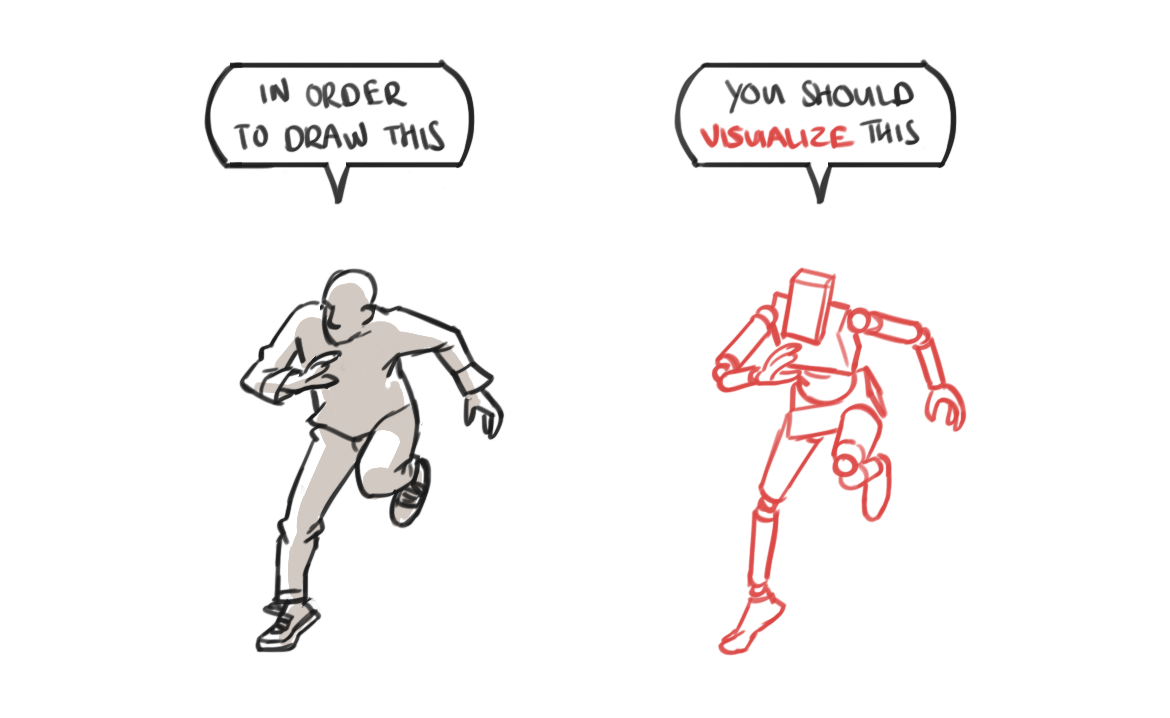
Here's what that voice gets wrong. Drawing from imagination doesn't feel hard because you lack skill, it feels hard because visualization is hard. Seeing the pose clearly before you draw it. That's the actual challenge. And most people never isolate it, because they're too busy trying to get the line right on the first try.
The Gradual Contrast Method fixes this by separating the thinking from the committing. Instead of doing everything at once, you build your drawing in three layers, each one clearer and more committed than the last.
Why a pen, not a pencil
To build visualization as a skill, you need to see your mistakes. A pencil lets you erase them, which feels safe, but erasing hides exactly what your brain needs to learn from.
A pen keeps your mistakes visible. That's not a punishment. That's the feedback loop.
The catch is that staring at page after page of errors gets demoralizing fast. So instead of fighting that, we use it: start with low contrast, where mistakes feel low-stakes, and slowly turn it up as the drawing becomes clearer.
Start low, build up
Maximum contrast, black on white, makes every wrong line scream at you. You tense up before making a single mark. So we start with a light color instead, then a medium one, then black. As contrast increases, your brain allows stronger commitment.
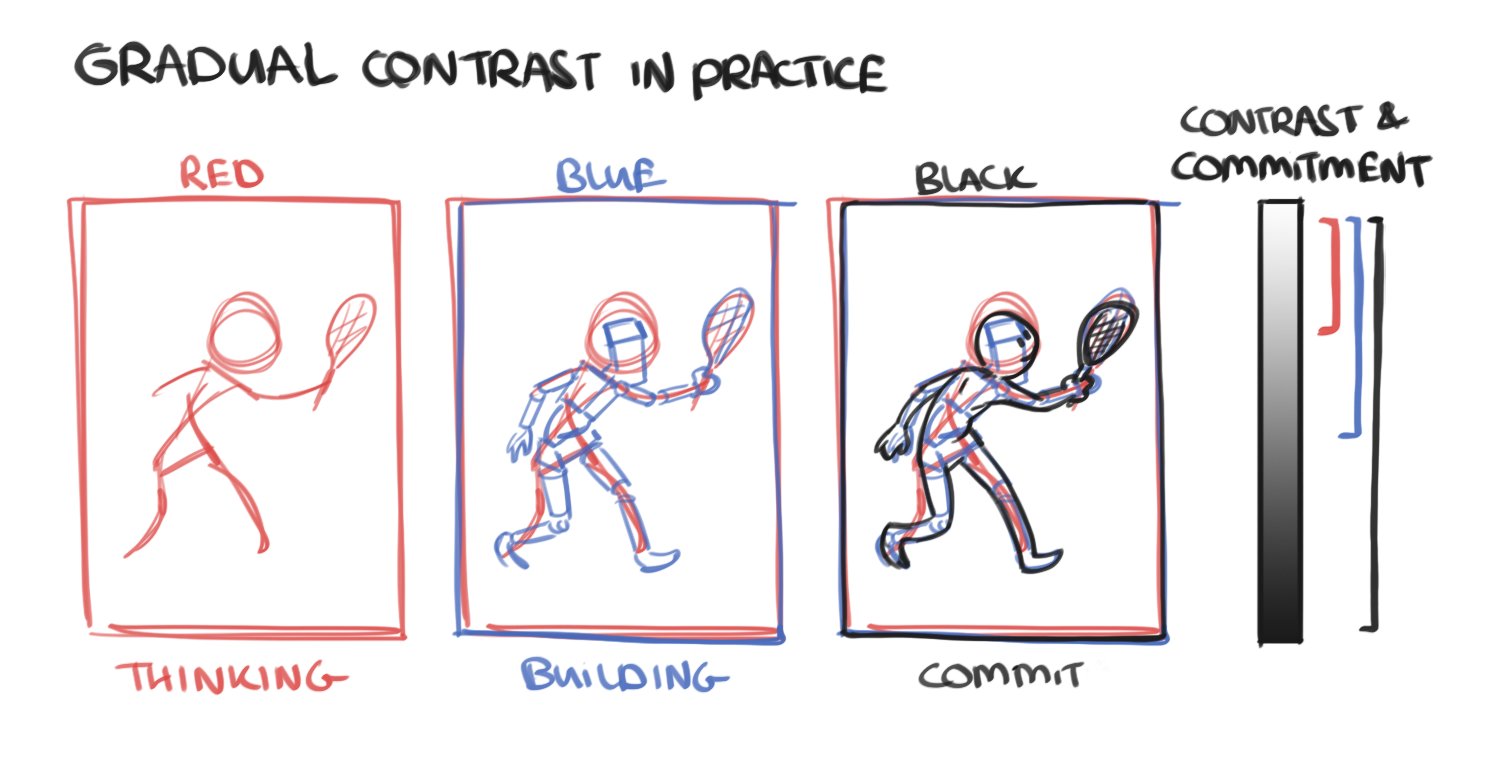
As contrast increases, your brain allows stronger commitment.
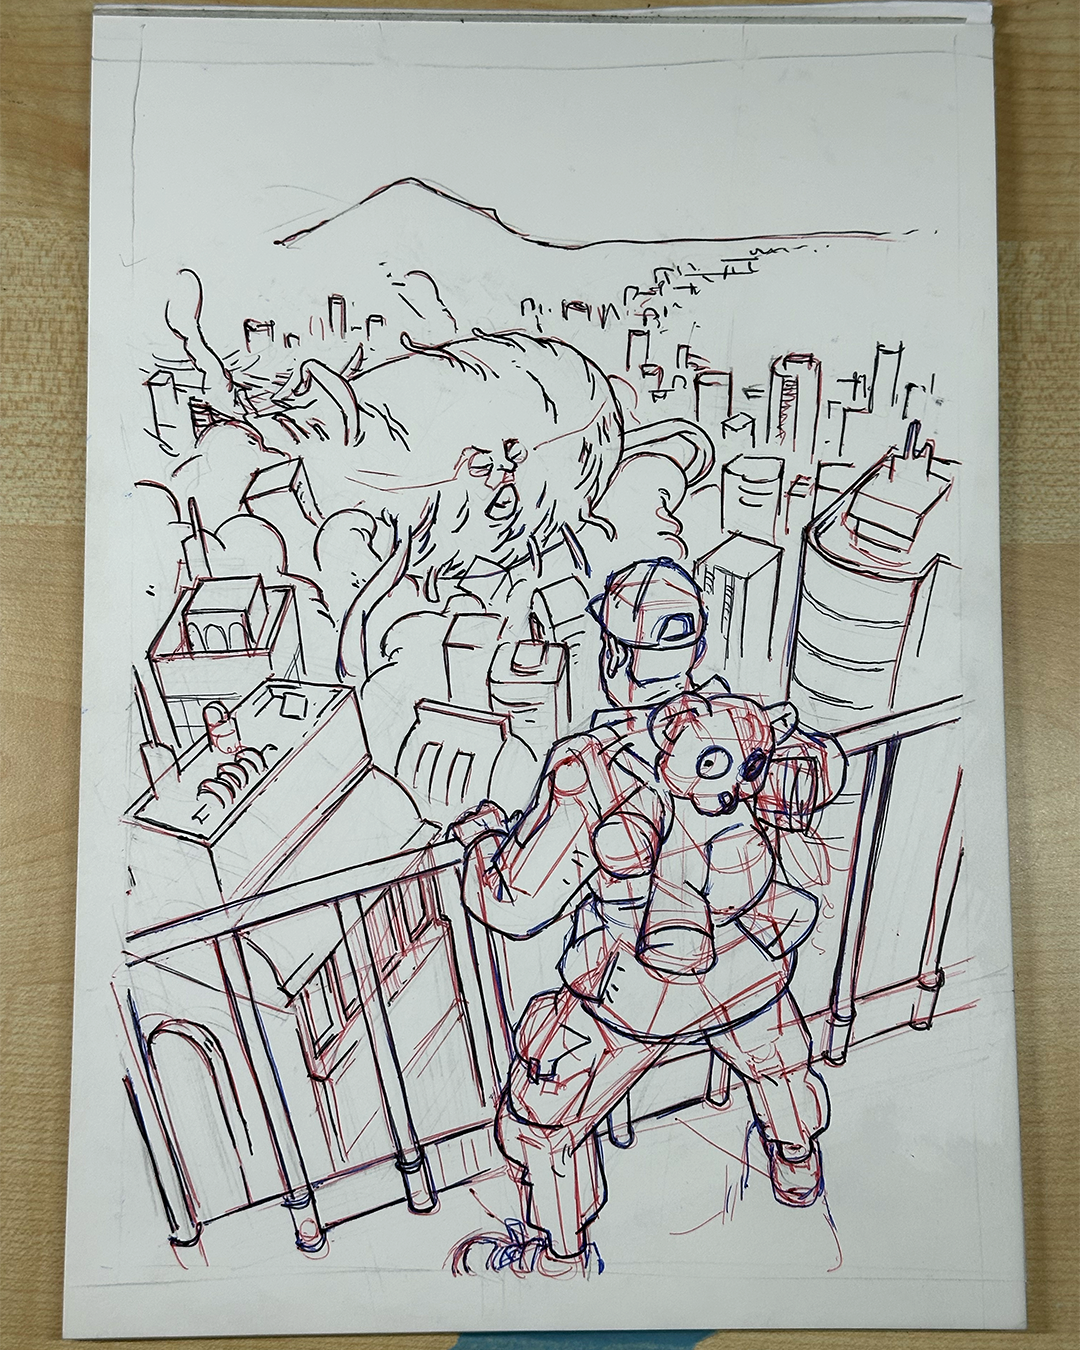
Step 1 - Red: The exploration phase
Red is your messy pass. This is where you plug in the big ideas: gesture, forms, perspective, proportions. Nothing needs to be right yet, but it does need to be thoughtful.

This phase is all about thinking, not polishing. You use red to plug in the big ideas:
gesture, forms, perspective, proportions. In other words, the fundamentals.
Nothing needs to be right yet.
But it does need to be thoughtful.
Personally, I sometimes use a pencil here. But when I’m training, I force myself to use a pen. Because I don’t want an undo button. I want to see my mistakes clearly so I can learn from them.
Ask yourself: is the pose clear? Does the figure sit correctly in space? Are the proportions believable?
(Any light color works here, red is just what I use.)
Step 2 - Blue: The Determination Phase
Once the foundation is in place, blue is where you start building. You reinforce the forms, add interior lines, and start shaping the illustration. You're no longer guessing blindly, you're refining what already works.

In blue, you still have flexibility, but you're no longer guessing blindly. You're refining what already works, interior lines, secondary details, making the drawing more readable.
You're also testing your confidence. The contrast is higher than red, so committing to a line here means something. Not fully, but more than before.
Blue is calm and focused. You're not committing yet, you're clarifying.
Step 3 - Black: The Illustration Phase
Now that the idea is stable, your confidence jumps. This is where you commit: contours, overlaps, clothing, details, silhouette.
Because red and blue solved the big problems, you're no longer guessing. You're tracing a well-built thought. Black is the highest contrast layer, so it's the one your eye follows, the earlier lines fade into the background, not erased but outgrown.
Some artists even enjoy seeing the faint red and blue underneath.
It shows the story of how the drawing was built.
If you want, stop here. Or take it further with color, shading, or texture. The early sketch lines will disappear completely, not because you removed them, but because you built something clearer on top.
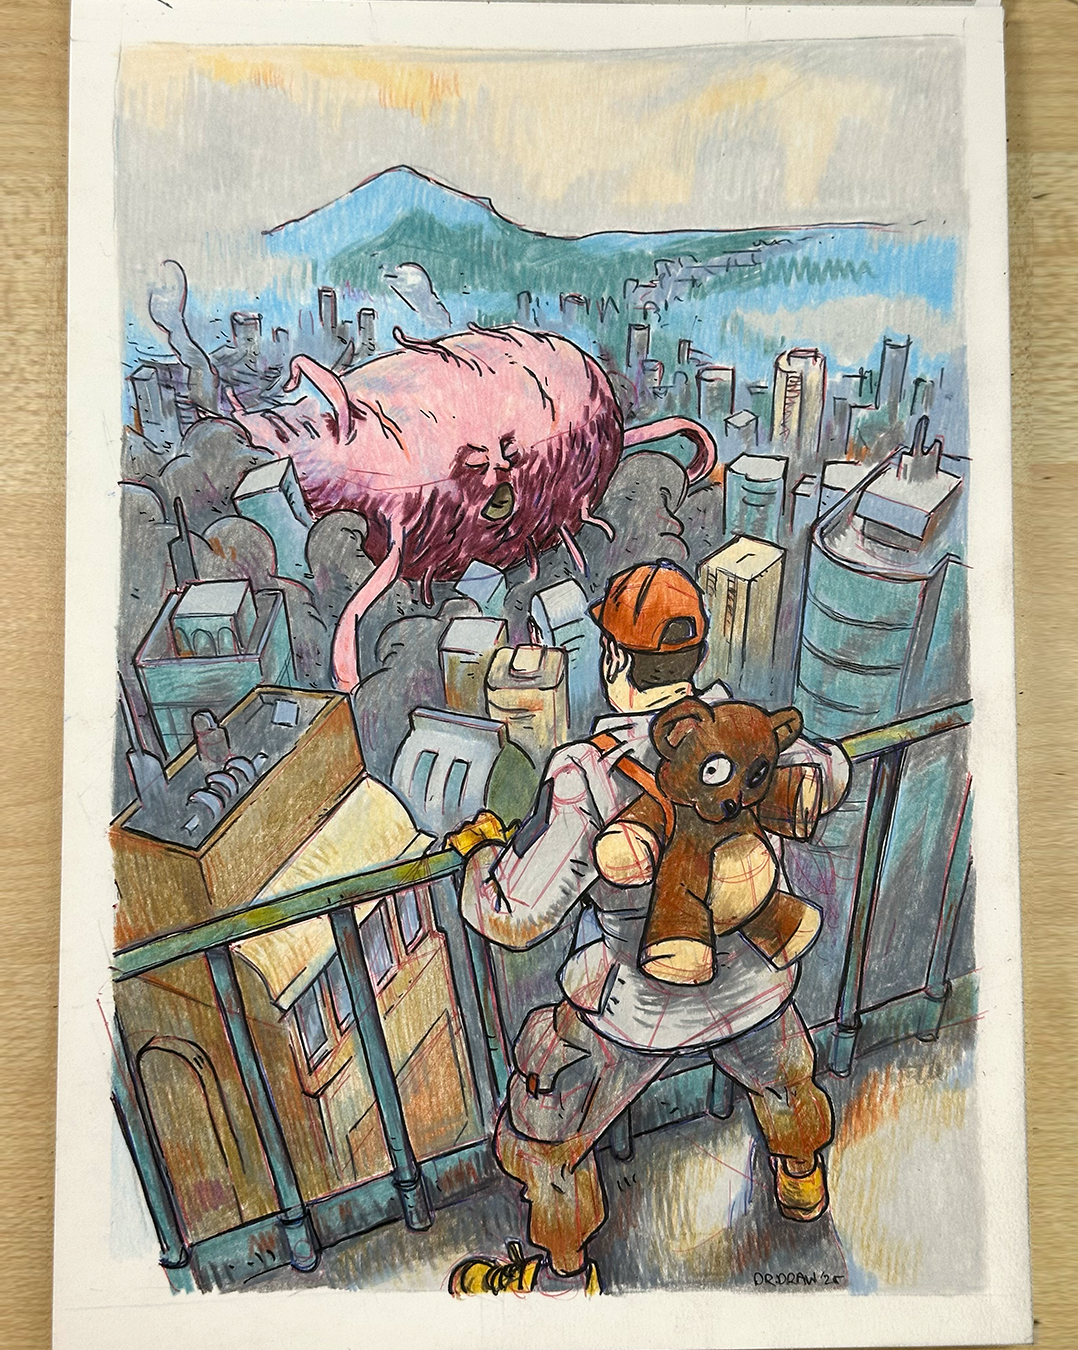
The final illustration. The sketch didn’t vanish, it was simply overwritten by clarity.
Try it on your next drawing
Next time you freeze, break the drawing into three phases:
Red → Blue → Black
Big → Medium → Small
Fundamentals → Build → Commit
Drawing from imagination isn't magic. It's a system, and it becomes much easier when you stop trying to solve everything on the first line.